

Key Takeaways
- Surface preparation is the most important step in any interior painting project - skipping it shows.
- Primer is not optional: it seals surfaces, improves adhesion, and helps true paint color appear in fewer coats.
- Cutting in before rolling - and keeping a wet edge - prevents visible lap marks and uneven sheen.
- Proper ventilation and drying time between coats dramatically affect the durability of the finished surface.
- Patching holes and sanding thoroughly before any paint goes on prevents imperfections from telegraphing through the finish.
Why Preparation Determines the Outcome
Most painting failures - peeling, bubbling, uneven color - originate not in the paint itself but in whatever was skipped beforehand. Professional painters typically spend more time preparing a room than they do applying paint. That ratio is worth respecting.
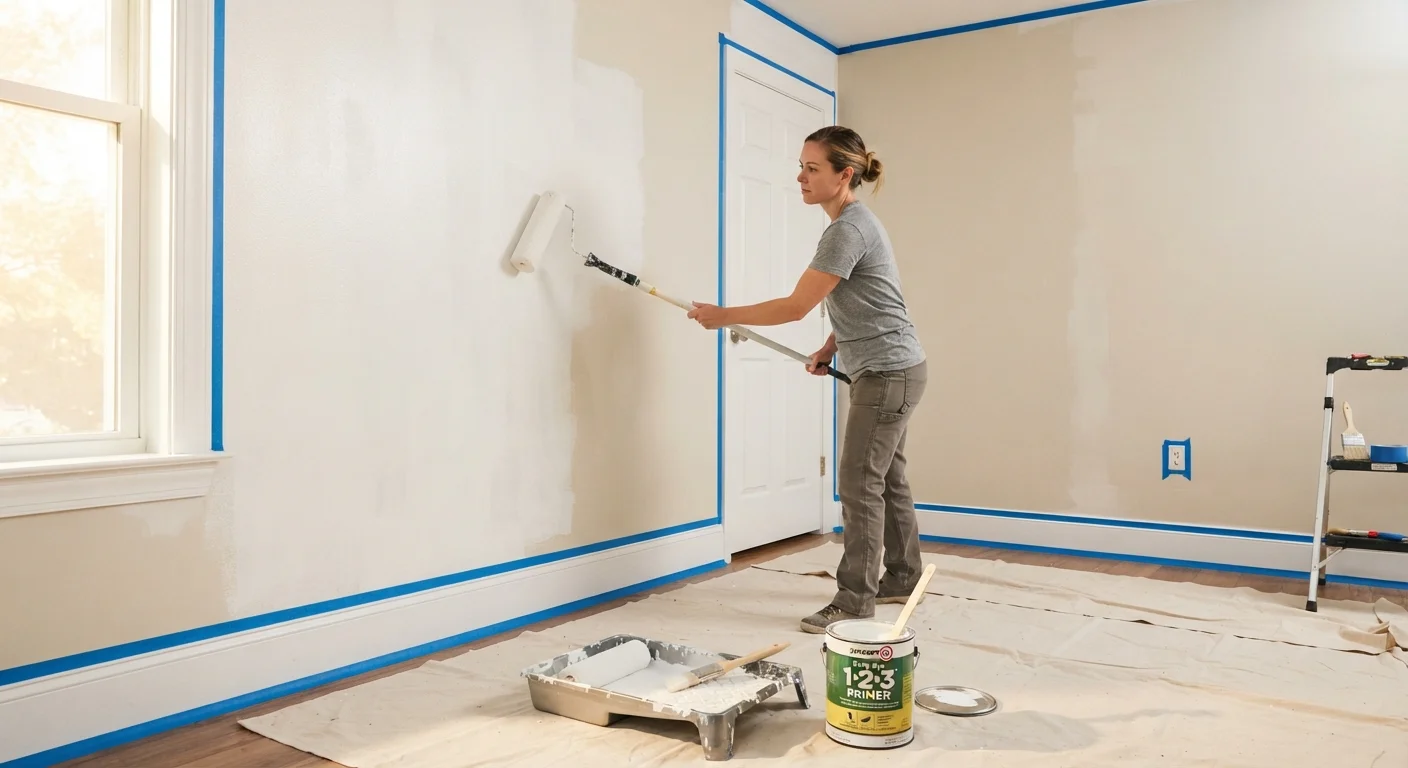
Start by clearing the room as much as possible. Move furniture to the center and cover it with drop cloths. Remove outlet covers and switch plates, and take down any wall fixtures. Use painter's tape (a low-tack masking tape designed for clean removal) to protect trim, baseboards, and ceiling edges.
Inspect every wall closely. Fill nail holes and minor dings with lightweight spackle, using a putty knife to press the compound flush with the surface. For larger cracks, use a setting-type joint compound, which hardens chemically and shrinks less. Once dry, sand all patched areas smooth - 120-grit sandpaper works well - then wipe the entire wall with a slightly damp cloth to remove dust. Any dust left on the surface will get trapped under the paint and create texture you didn't intend.
Don't Skip the Damp Wipe-Down
After sanding patched areas, sanding dust settles across the entire wall - not just where you sanded. Wiping the full wall with a lightly damp microfiber cloth before priming removes this dust entirely. Let the wall dry completely before applying primer; painting over any residual moisture can cause adhesion problems.
Primer: What It Does and When You Need It
Primer is a preparatory coating applied before paint. It does three things paint alone cannot reliably do: it seals porous surfaces so paint absorbs evenly, it improves adhesion so paint bonds firmly to the wall, and it neutralizes stains or dark colors so they don't bleed through your finish coat.
You almost always need primer when painting over:
- New drywall (highly porous)
- Previously unpainted wood or plaster
- Stains from water, smoke, or marker
- A dark color you're covering with a lighter one
- A surface that hasn't been painted in many years
Tinted primer - primer tinted to approximate your finish color - reduces the number of topcoats needed, particularly useful with saturated or bold paint colors. Ask the paint counter to tint your primer when purchasing; it's typically a low-cost addition.
Paint-and-Primer-in-One Products
Many paints are now labeled 'paint and primer in one.' These formulations work well on previously painted walls in good condition - same color family, no stains, intact surface. However, they are not a true substitute for a dedicated primer coat on new drywall, heavily patched walls, dramatic color changes, or stained surfaces. When conditions are straightforward, they're a reasonable time-saver; when conditions are demanding, a separate primer step produces more reliable results.
Application Technique: Cutting In, Rolling, and Maintaining a Wet Edge
Professional painters follow a consistent sequence: cut in first, then roll. Cutting in means using an angled brush to paint a 2-3 inch band along all edges - where walls meet ceiling, corners, and trim - before the roller touches the wall. This creates a clean border the roller can't reach accurately.
When rolling, load the roller evenly in the tray (avoid over-saturating it) and apply paint in a loose W or M pattern, then fill in without lifting the roller. Work in sections of roughly 3-4 square feet at a time.
The most important rolling principle is maintaining a wet edge: always roll into the section you just painted before it dries. If paint dries before you lap back into it, you'll see a visible seam. Keep a consistent pace and avoid stopping mid-wall.
Apply two coats as standard practice - even if coverage looks acceptable after one. The second coat evens out sheen differences and builds durability. Allow the manufacturer's recommended drying time between coats; rushing this step risks pulling up the first coat with the roller.
Always sand and clean walls before applying any primer or paint.
Dust, grease, and surface irregularities prevent paint from bonding properly. Even light sanding on previously painted walls removes gloss and creates mechanical adhesion. Cleaning removes invisible residue that causes adhesion failure.
Apply primer as a dedicated step, not as a substitute for preparation.
Primer improves adhesion and seals surfaces but cannot correct poor prep work. A patched, sanded, and cleaned wall with primer will outperform a dirty or unpatched wall primed twice.
Cut in edges before rolling, and do so in the same session.
Cut-in edges that dry fully before rolling can create a visible sheen difference at the boundary. Keeping the cut-in wet enough to blend with the rolled section eliminates this common flaw.
Allow full drying time between coats and before removing tape.
Paint that feels dry to the touch may not have cured enough to withstand a second coat or tape removal. Rushing causes peeling, texture lifting, and ragged tape lines.
Ventilate the room throughout painting and drying.
Adequate airflow removes paint fumes, helps solvents off-gas properly, and speeds even drying. Poor ventilation can cause uneven curing and pose health risks from VOC (volatile organic compound) exposure.
Once your final coat is dry, remove painter's tape by pulling it back at a 45-degree angle slowly. Pulling too fast or waiting too long can tear the tape and pull paint with it.
When you're ready to think about color selection and how paint choices flow between rooms, see our guide to color undertones and room flow - it pairs directly with the technique you've built here.
Quick Wins to Get Started Today
You don't have to commit to a full room to improve your results. Several high-impact steps can be done immediately with basic supplies.
If you're approaching a broader refresh and aren't sure where to start decorating after the paint dries, getting started with interior decorating walks through the first decisions clearly and without overwhelming detail.