

Key Takeaways
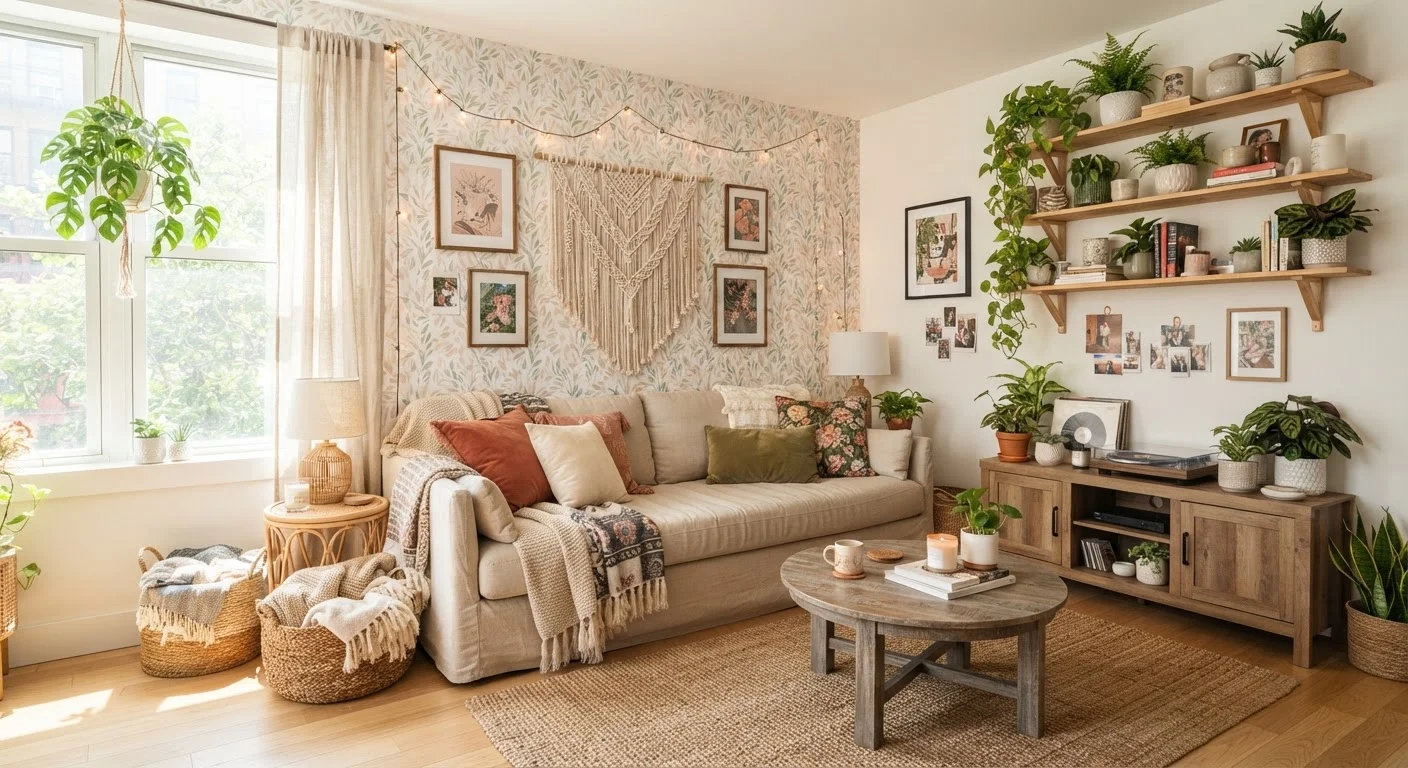
- Removable wallpaper and peel-and-stick tiles can transform walls and surfaces without damaging them.
- Layering rugs, textiles, and lighting dramatically shifts a room's atmosphere at low cost.
- Damage-free hanging hardware lets renters display art and shelving without losing their deposit.
- Strategic furniture arrangement and freestanding storage can define zones in open or small layouts.
- Always photograph your space before and after changes to protect your security deposit.
Summary
18 items · 30-60 minutes to review and plan
Why Rental Décor Deserves More Credit
Renting doesn't mean settling for sterile beige walls and impersonal layouts. The gap between a space that feels like yours and one that doesn't comes down to a handful of reversible decisions - choices that can be undone in an afternoon when it's time to move on.
This checklist walks through the most impactful, deposit-safe changes renters can realistically make. Whether you're in a studio apartment or a three-bedroom house, these strategies are organized from quick wins to more involved transformations. Use it to audit your current space and prioritize where your time and budget will go furthest.
For more on how design decisions affect perceived space, see our guide on why small rooms feel smaller than they are - many of those principles apply directly to rental spaces where structural changes aren't possible.
Walls and Surfaces
Floors and Layering
Lighting
Furniture and Layout
Textiles and Soft Furnishings
Plants and Décor Objects
Tools and Supplies You'll Want on Hand
Most rental-friendly upgrades require only a modest kit of supplies. The emphasis here is on products and techniques that leave no permanent mark - so review your lease before purchasing anything, and when in doubt, test in an inconspicuous area first.
Removable adhesive strips and hooks
Hang art, shelves, and lightweight items without drilling holes into walls.
Peel-and-stick wallpaper
Create accent walls or cover unsightly surfaces with a fully reversible surface treatment.
Tension rods
Mount curtains in windows or doorways without any hardware installation.
Non-slip rug pad
Keep area rugs in place and protect the floor beneath from friction or dye transfer.
Smartphone camera or dedicated camera
Document the space before and after all changes to protect your security deposit.
Spackling compound and putty knife
Patch any pre-existing or incidental nail holes in walls before move-out.
Always Read Your Lease First
Some leases restrict even removable modifications such as wallpaper, adhesive products, or window treatments. Review your rental agreement carefully before purchasing supplies. When a clause is ambiguous, ask your landlord for written confirmation before proceeding - verbal approvals are difficult to rely on later.
If you're working with a tight budget, our article on decorating on a budget without the space looking cheap covers how to prioritize spending on the elements that have the most visual impact.
Before You Start: Document Everything
Before making any changes - even hanging a single picture frame - walk through every room with a camera and photograph existing scuffs, nail holes, stains, and wear. Date the images and store them somewhere accessible. This documentation is your strongest protection if a landlord disputes your deposit at move-out.
Photograph Before Any Changes
Take timestamped photos of every room - including inside closets, under windows, and along baseboards - before making a single change. This is your most important protection against disputed deposit deductions. Landlord-tenant laws vary by state, but documented evidence of pre-existing damage is universally useful.
Once you've completed changes, photograph those too. A clear before-and-after record shows that any marks or wear were pre-existing, and that your modifications were genuinely reversible. For room-by-room guidance on what each space actually needs to function well - which helps you prioritize your décor efforts - see our room-by-room decorating guide.