

Key Takeaways
- Moisture is the leading cause of premature paint peeling - fix leaks before you open a paint can.
- Skipping surface cleaning and sanding prevents paint from bonding properly to walls.
- Using the wrong primer for your surface type is a common and costly oversight.
- Painting in high humidity or extreme temperatures causes adhesion failure within months.
- Applying thick coats traps solvents and leads to bubbling and eventual peeling.
Why Paint Fails Before It Should
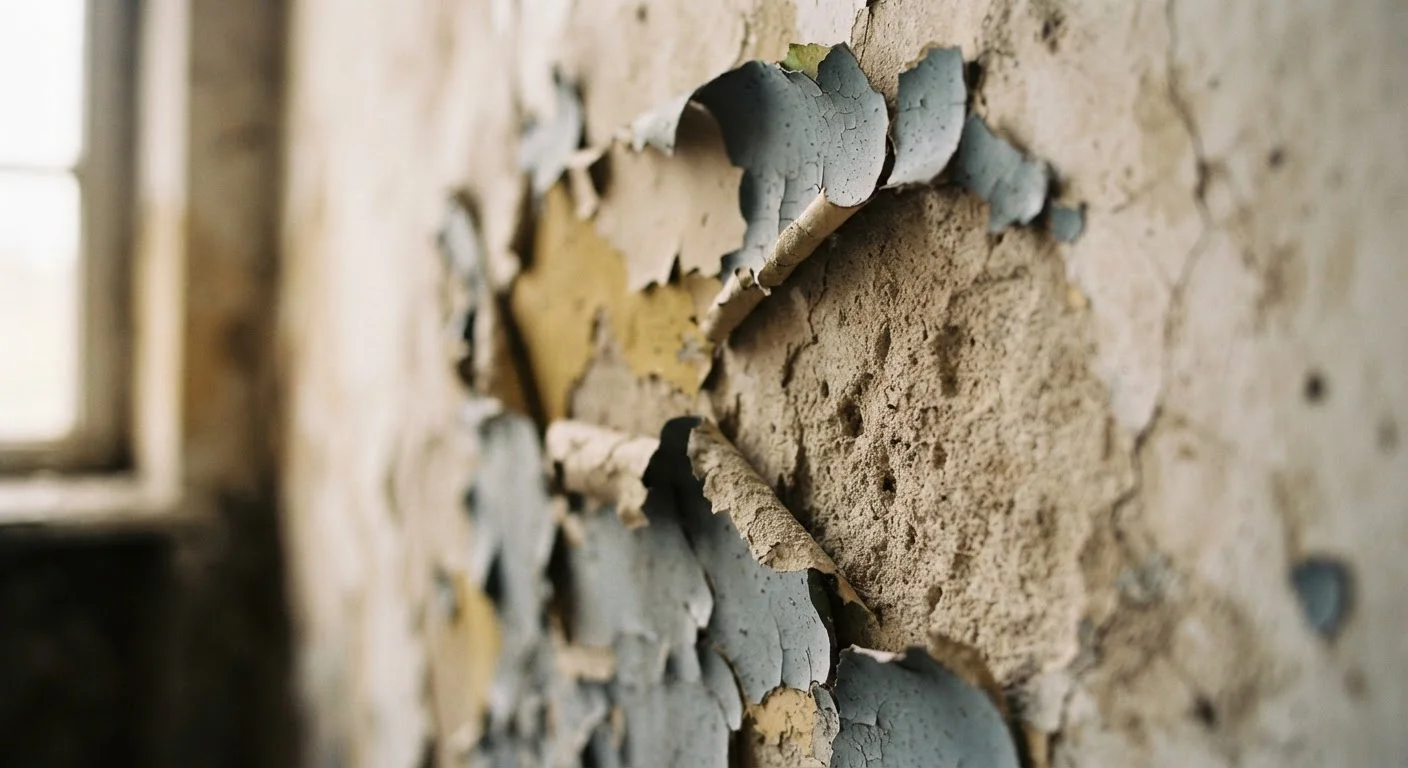
A fresh coat of paint should last five to ten years under normal interior conditions. When it starts peeling within twelve months, the problem almost never lies with the paint itself. Peeling is a symptom - a sign that the bond between the paint and the wall surface has broken down, usually because of something that happened (or didn't happen) before the first brushstroke.
Understanding the mechanics of paint adhesion helps clarify why preparation is non-negotiable. Paint forms a mechanical and chemical bond with the surface it's applied to. Anything that compromises that surface - grease, moisture, loose old paint, or incompatible materials - prevents that bond from forming fully. The result is paint that looks fine at first but begins to lift, bubble, or peel as temperature and humidity fluctuate over the following months.
Skipping surface cleaning before painting.
Why it happens: Walls often look clean to the naked eye, but grease, dust, and household residue create an invisible barrier that prevents adhesion.
Ignoring existing moisture problems behind the wall surface.
Why it happens: Moisture damage isn't always obvious, and homeowners often assume a coat of paint will seal things up and buy time.
Using the wrong primer or skipping it entirely.
Why it happens: Primers seem like an optional step, especially when paint-and-primer-in-one products are widely available. However, not every surface responds to the same primer formulation.
Painting in conditions that are too humid or too cold.
Why it happens: Many homeowners don't realize that temperature and humidity directly affect how paint cures - not just how it dries to the touch.
Applying paint coats that are too thick.
Why it happens: The instinct is to build coverage quickly with fewer, heavier coats - it feels efficient and seems to give richer color.
Environmental and Application Factors You Can Control
Beyond surface prep, the conditions under which you paint matter more than most homeowners expect. Applying paint in a cold garage in January or during a summer heat wave can cause the paint film to cure unevenly, leaving it brittle or poorly bonded from day one.
Moisture Problems Must Be Fixed First
Paint is not a waterproofing solution. If a wall has an active moisture problem - whether from a plumbing leak, condensation, or exterior water intrusion - applying fresh paint over it will result in peeling regardless of paint quality. Identify and eliminate the moisture source before any painting begins, or you'll be repainting the same spot within a year.
Application technique also plays a significant role. Working from a fully loaded roller or brush with each pass can create an uneven film thickness across the wall. The goal is consistent, even coverage - built up gradually rather than forced on quickly. Interior painting technique that prioritizes thin, even coats almost always outlasts a rushed single-coat approach.
Don't Paint Over Glossy Surfaces Without Sanding
High-gloss finishes create a surface that new paint simply cannot grip. Painting directly over gloss without scuff-sanding first is one of the fastest paths to peeling. Always dull the sheen with medium-grit sandpaper and wipe away dust before applying primer or paint.
~80%
Paint failures linked to surface prep issues
Industry painting professionals widely cite inadequate surface preparation - not paint quality - as the cause of the vast majority of premature coating failures.
48-72 hrs
Drying time needed after moisture exposure
Walls affected by water intrusion or high humidity often require at least 48 to 72 hours of drying time before painting to avoid adhesion failure.
If you're repainting a room that peeled prematurely before, take time to identify which of these conditions applied. Repeating the same process will produce the same result. Address the root cause first - whether that's a ventilation upgrade in the bathroom, a plumbing repair, or simply a more thorough cleaning and sanding routine - and your next paint job will be dramatically more durable.