

Key Takeaways
- Most car batteries last 3-5 years; age alone is a valid reason to consider replacement.
- Slow engine cranking, dimming lights, and warning lights are early signs of battery decline.
- A load test performed by a mechanic or auto parts store gives a definitive health reading.
- Extreme temperatures - both hot and cold - accelerate battery wear significantly.
- Replacing a battery is often beginner-friendly, but safety steps must be followed carefully.
What you will need
Why Car Batteries Fail - and When to Pay Attention
A car battery does more than start the engine. It stabilizes voltage for the vehicle's electronic systems, powers accessories when the engine is off, and works alongside the alternator to manage the entire electrical load. Most lead-acid batteries - the standard type in the vast majority of passenger vehicles - have a realistic service life of 3 to 5 years, though climate, driving habits, and vehicle type all influence that range.
Heat is the primary enemy of battery longevity. High under-hood temperatures accelerate the internal chemical degradation that reduces a battery's ability to hold a charge. Cold weather, by contrast, reduces the chemical reactions that generate power, which is why a battery that seems fine in summer can fail to start a car on the first cold morning of winter. Drivers in climates with significant temperature extremes often find their batteries reach the lower end of that lifespan range.
Short trips are another common culprit. When a vehicle is driven only briefly, the alternator may not fully recharge the battery between uses. Over time, repeated partial discharging weakens the battery's internal structure - a process called sulfation, where lead sulfate crystals form on the battery plates and permanently reduce capacity.
For a broader look at everyday ownership habits that support vehicle reliability, see our guide to safe practices between mechanic visits.
Test Before You Assume
A battery that struggles on a cold morning may simply need a full charge rather than replacement. Many auto parts retailers offer free battery and alternator testing, which takes only a few minutes and gives you an accurate picture before spending money on a new unit.
The Replacement Process: What to Expect
For many drivers, battery replacement is a manageable DIY task - but only when approached with the right information and appropriate caution. The steps below cover everything from confirming the problem through installation. If at any point the process feels beyond your comfort level, a mechanic can typically complete a battery swap in under an hour.
Understanding where a task like this sits on the DIY spectrum is genuinely useful. Our guide to DIY vs. shop maintenance walks through the factors that separate owner-friendly tasks from those best left to professionals.
What you will need
Battery load tester or multimeter
Measures battery voltage and assesses whether it can hold a charge under real operating conditions.
Combination wrench or socket set
Used to loosen and remove the battery terminal clamps and hold-down bracket.
Safety gloves and eye protection
Protects against acid exposure and sparks during battery handling.
Wire brush or terminal cleaner
Removes corrosion buildup from battery terminals before installing a new unit.
Memory saver / OBD keep-alive tool
Maintains power to the vehicle's electronic modules so radio presets and settings are not lost during swap.
Identify warning signs before acting
Before replacing anything, confirm the battery is genuinely the source of trouble. Common indicators of a weakening battery include:
- Slow or labored engine cranking - the starter motor sounds sluggish when you turn the key or press the start button
- Dimming headlights or interior lights, especially at idle
- Battery warning light illuminated on the dashboard
- Swollen or bloated battery case, which usually indicates heat damage
- Visible corrosion - a white or blue powdery buildup around the terminals
- Age beyond 4-5 years - even a symptom-free battery this old warrants a professional test
Have the battery load-tested
A visual check or voltage reading alone is not enough. A load test applies a simulated electrical demand to the battery and measures how well it maintains voltage under that stress - the same conditions it faces when starting your engine. A fully charged battery should hold at least 9.6 volts during a 15-second load test; any reading significantly below that suggests the battery is no longer reliable.
Many auto parts retailers perform this test at no charge using a handheld tester. Alternatively, a mechanic can test both the battery and the alternator (the component that recharges the battery while driving) in a single visit.
Select the correct replacement battery
Car batteries are not interchangeable. Check your owner's manual or the label on the existing battery for two key specifications:
- Group size - determines the battery's physical dimensions and terminal placement
- Cold cranking amps (CCA) - the battery's ability to start the engine in cold temperatures; match or exceed your vehicle's minimum requirement
If you live in a region with harsh winters, choosing a battery with a higher CCA rating than the minimum can improve reliability during cold starts.
Disconnect the old battery safely
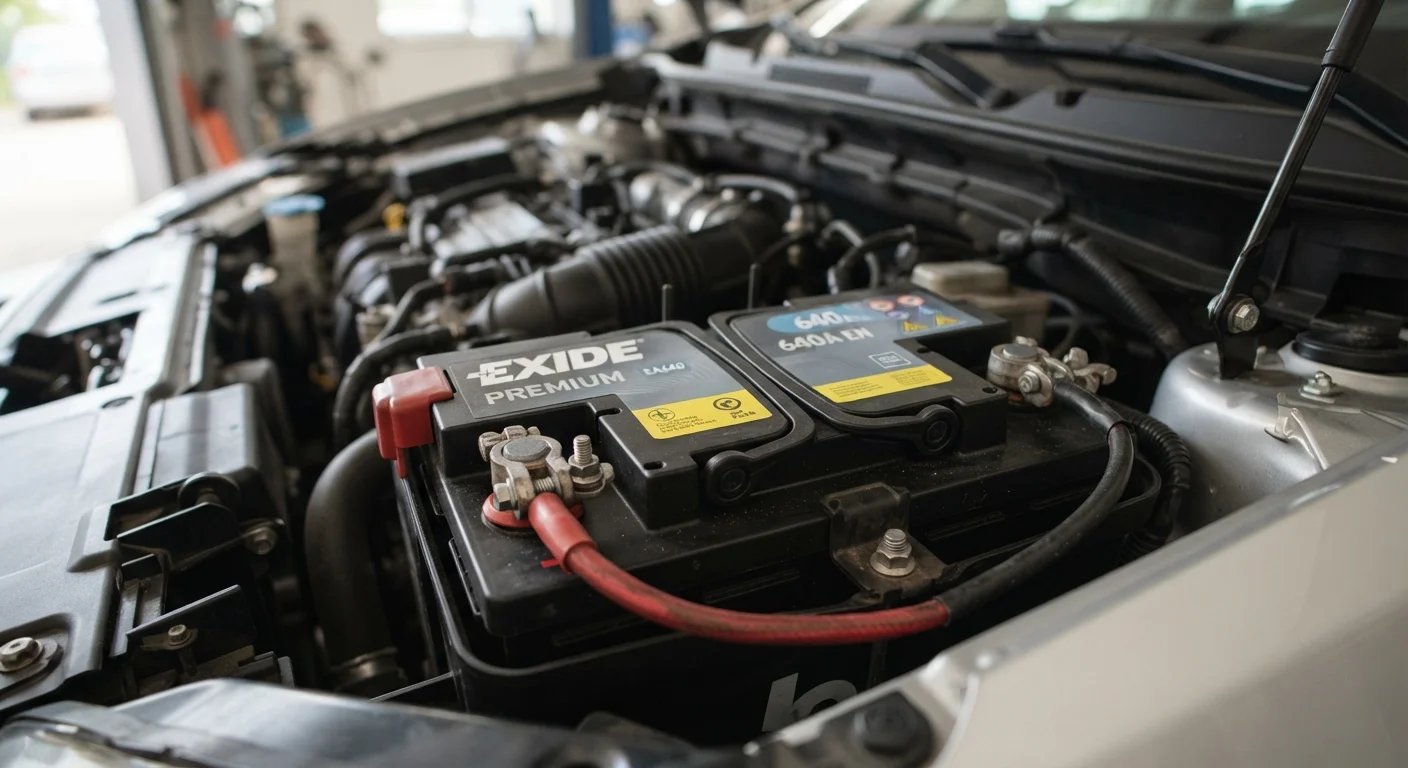
Turn off the vehicle and remove the key. Open the hood and locate the battery. Put on your gloves and eye protection before touching any terminals.
- Loosen and remove the negative (black, marked -) cable clamp first.
- Loosen and remove the positive (red, marked +) cable clamp second.
- Remove any hold-down bracket or clamp securing the battery in the tray.
- Lift the battery out carefully - most weigh between 30-50 lbs.
Clean the tray and terminals
Before installing the new battery, inspect the battery tray for rust or acid residue and wipe it clean. Use a terminal cleaning brush or a mixture of baking soda and water to remove any corrosion from the cable clamp ends. Rinse and dry thoroughly. This step ensures a solid electrical connection and helps extend the life of the new battery.
Install the new battery and reconnect
Lower the new battery into the tray, ensuring it sits securely. Reattach the hold-down bracket. Then reconnect the cables in reverse order:
- Attach the positive (red, +) cable clamp first.
- Attach the negative (black, -) cable clamp second.
Tighten both clamps firmly - a loose connection causes voltage drops and can mimic battery failure symptoms. Start the vehicle and confirm normal operation. If any warning lights remain on, allow the vehicle's computer a few drive cycles to reset, or have a mechanic scan for stored fault codes.
Safety First When Handling Batteries
Car batteries contain sulfuric acid and produce hydrogen gas during charging, both of which are hazardous. Always wear eye protection and gloves, keep open flames and sparks away, and work in a ventilated area. If you are uncomfortable with any part of the process, have a qualified mechanic handle the replacement.
Disconnect in the Correct Order
Always remove the negative (black) cable before the positive (red) when disconnecting a battery, and reconnect in the reverse order - positive first, then negative. Reversing this sequence risks sparking and can damage sensitive electronic modules in modern vehicles.