

Key Takeaways
- Hole size determines which patching method you should use - small, medium, and large holes each call for a different approach.
- Joint compound typically requires two to three coats, with full drying time between each coat.
- Proper feathering of compound edges is the single biggest factor in achieving an invisible finish.
- Texture matching is often overlooked but essential for a patch that blends with surrounding wall.
- Most patches can be completed with tools already found in a basic homeowner's toolkit.
What you will need
Understanding the Repair Before You Start
Drywall damage falls into a few predictable categories, and the right fix depends entirely on what you're dealing with. A small nail hole behaves very differently from a doorknob punch-through, so a moment of honest assessment before opening any compound saves time and frustration later.
Small holes (under ½ inch): Nail pops, picture hooks, and screw heads fall here. These need little more than lightweight spackle and a finger or putty knife.
Medium holes (½ inch to 4 inches): These require a self-adhesive mesh patch or a backing clip to give the compound something solid to grip. Without a backer, compound will sag or crack as it dries.
Large holes (4 inches and up): These call for a drywall insert or a California patch - a technique that cuts out a clean rectangle and installs new drywall secured to a wooden backing board. This produces the most durable result.
Before gathering materials, also note whether your walls have texture - knockdown, orange peel, or flat smooth - because replicating that texture is what makes or breaks the final appearance.
What you will need
Tools and Materials You'll Need
Gathering everything before you start prevents mid-project trips to the hardware store. The list below covers all three hole sizes; select what applies to your specific repair.
Putty knife or drywall knife (6-inch and 10-inch)
Applies and feathers joint compound across the patch area for a smooth, blended finish.
Lightweight joint compound (pre-mixed)
Fills and covers the patch; pre-mixed varieties are easiest to work with for most homeowners.
Self-adhesive mesh patch (for medium holes)
Provides a structural backing that keeps compound from sagging into the void.
Drywall screws and wooden backing strip (for large holes)
Secures new drywall insert in place when a mesh patch alone would not provide enough support.
Sanding sponge or 120-grit sandpaper
Smooths dried compound between coats and before priming.
Drywall primer
Seals the porous compound surface so paint adheres evenly and doesn't leave a dull spot.
Spray texture (aerosol can)
Replicates wall texture over the patch area so it blends with surrounding surfaces.
Step-by-Step Patching Instructions
Work through the steps below in order. Rushing drying times is the most common reason a patch fails or cracks - plan for the repair to span at least a full day, and ideally two.
Clean and prepare the damaged area
Remove any loose drywall paper, crumbling gypsum, or protruding screws around the hole. For nail pops, drive the nail slightly below the surface with a hammer and nail set, then add a drywall screw nearby to re-secure the panel to the stud. Wipe the area with a damp cloth to remove dust, and let it dry completely before applying any compound.
Install backing or a mesh patch (medium and large holes)
For holes between ½ inch and 4 inches, center a self-adhesive mesh patch over the opening and press firmly so all edges adhere to undamaged drywall. For holes larger than 4 inches, cut the damaged section into a clean rectangle using a drywall saw, insert a wooden backing strip (a 1×3 or 1×4 works well) into the opening and screw it to the existing drywall on either side, then cut a new drywall piece to fit snugly and screw it to the backer. Keep screws slightly recessed - just below the surface without tearing the paper.
Apply the first coat of joint compound
Load your 6-inch putty knife with pre-mixed joint compound and spread a thin, even layer over the patch, pressing firmly to fill any voids. For mesh patches, work the compound into the mesh openings first, then spread it outward. The first coat does not need to be perfect - it is a base layer. Extend it about 2 inches beyond the patch edges. Let it dry completely; this typically takes 4-8 hours depending on humidity and temperature. The compound will appear lighter in color when fully dry.
Sand, then apply second and third coats
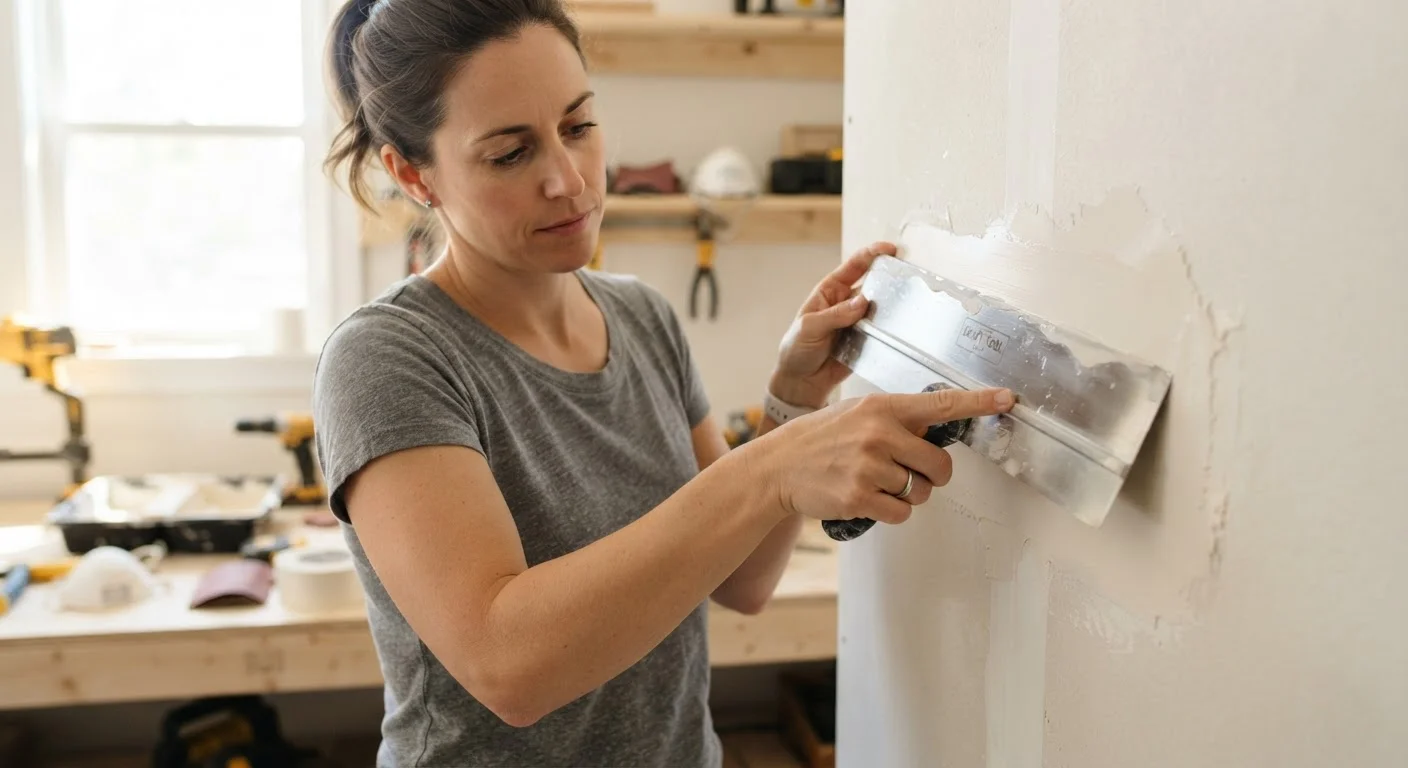
Once the first coat is dry, sand lightly with a 120-grit sanding sponge to knock down ridges, then wipe away dust. Apply a second coat with a 10-inch knife, feathering - meaning gradually thinning - the edges 4-6 inches out from the patch. Allow to dry fully, sand again, and apply a third thin skim coat if any low spots or edge lines remain. The goal is a surface that is flush with the surrounding wall and has no visible compound edge lines.
Prime and paint the repaired area
Apply one coat of drywall primer over the entire patched and sanded area and let it dry per the manufacturer's label instructions. Once primed, inspect again under raking light. Touch up any remaining imperfections with a thin smear of compound, allow to dry, and lightly sand before painting. Apply your wall paint using a roller for larger patches to blend texture naturally, or a brush for very small repairs. Blend wet paint into the edges of the surrounding area to minimize visible boundaries.
Don't Skip Permits for Structural Repairs
If the wall damage is accompanied by signs of structural movement - such as long diagonal cracks, doors that no longer close properly, or recurring cracks in the same location - the issue may be deeper than cosmetic drywall damage. In these cases, patching the surface without addressing the underlying cause is a temporary fix at best. Consult a licensed contractor or structural inspector before proceeding.
Finishing, Texture Matching, and Painting
Once the final coat of compound is fully dry and sanded flush, texture matching is your next task. For flat walls, no texture step is needed - move straight to priming. For textured walls, a can of spray texture is the most accessible option for small patches; practice on cardboard first to dial in the spray distance and density before touching the wall.
Always prime the patched area before painting. Unprimed joint compound is highly porous and will absorb paint unevenly, leaving a dull spot even if the color matches perfectly. A single coat of drywall primer is sufficient.
When painting, use the original wall paint if available. If you need to purchase new paint, bring a paint chip or photograph to a hardware store for color matching. Roll or brush the patch and blend it into the surrounding area while the paint is still slightly wet to minimize lap lines.
Test Texture on Cardboard First
Spray texture products vary widely by brand and nozzle type, and the result depends heavily on distance and pressure. Always practice on a piece of cardboard until the pattern closely matches your wall before committing to the patch. Let the test layer dry - wet texture looks different from dry - before making your final judgment.